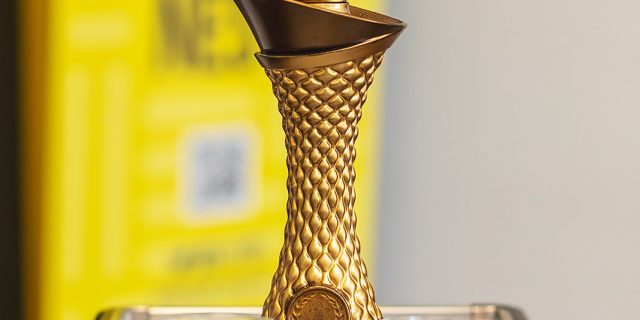
On 24th March we held our first annual “East Anglia’s Best Barista” competition as The…
Steaming Barista Milk
One of the most common questions I get asked by baristas is how do I make latte art?
I always reply saying that only by steaming your milk correctly,
and producing quality micro-foamed milk will you be able to produce awesome latte art.
Generally, to steam milk, you will need a coffee machine that has a pressurised boiler capable of producing steam.
The most common machine that is used to steam milk is a traditional espresso machine.
These machines will have a valve that is opened and releases steam through a pipe usually referred to as the steam arm.
Step 1: Decide upon which size milk pitcher you are going to use. Fill the pitcher with cold milk to just below the bottom of the nozzle/ spout.
If you are using a 12oz pitcher this will be about 9oz. This will give you room to spin and stretch the milk.
Step 2: Purge your steam arm over the drip tray by turning on your steam arm full for a blast of steam.
Ensure that it is clean by giving it a wipe with the cloth before using.
Step 3: Place the steam arm into the milk pitcher so that just the tip of the arm is submerged.
You want to place the steam arm slightly off centre as this will help you to spin the milk.
Step 4: Turn on the steam to full power and lower the pitcher down so the steam arm is almost at the surface of the milk.
At this point, you are adding the air that will determine how much foam you will create and you can tell how much air is going in by listening.
For example, if you are making milk for a cappuccino you will need to add more air than you would for flat white.
Step 5: Once you have added the desired amount of air before the milk is warm, raise the jug so that the tip of the steam arm is fully submerged within the milk again.
Angle the jug so that the steam arm is leant to one side of the jug. This will force the milk to start spinning and create a vortex in the centre of the jug.
This spinning will break down the bubbles and create micro-foam. By this stage, the process should be relatively quiet.
Step 6: While continuing to heat the milk, place your hand at the bottom of the pitcher to gauge temperature.
When the jug becomes uncomfortable to touch remove your hand and continue to steam for a further 3 -5 seconds.
You can also use a thermometer and stop at 62 degrees if you wanted to be more precise.
If you do use a thermometer make sure you calibrate it a least once a week to avoid getting an inaccurate temperature reading.
Step 7: Once the milk is at the correct temperature turn off the steam arm and put down the milk pitcher.
Step 8: Wipe the steam arm clean with your cloth and purge the steam arm again to remove any milk left inside it.
Step 9: Pick up the milk pitcher and gently tap the bottom on your work surface to remove any large bubbles that may be remaining on the surface.
After tapping, swirl the milk to bring all the foam together.
Step 10: The milk should now be completely flat and have an almost metallic shine to it. No big bubbles should be visible.
You’re ready to start your best latte pour yet!
Hopefully, these tips have helped you with your milk steaming technique and will allow you to start experimenting with latte art.


